DotCMS-ContactForm: Difference between revisions
No edit summary |
|||
| Line 65: | Line 65: | ||
[[Category:dotCMS]] | [[Category:dotCMS]] | ||
[[Category: | [[Category:Help Desk]] | ||
Latest revision as of 14:13, 18 October 2017
The contact form can used as a stand alone piece of HTML code or as a template.
Using the Contact Form Template
First, create a new HTML page like normal.
When you are selecting the Template, start typing in "Contact" and you should see the Contact Form template like below.
After the page is created, go to the center column and start adding content like normal.
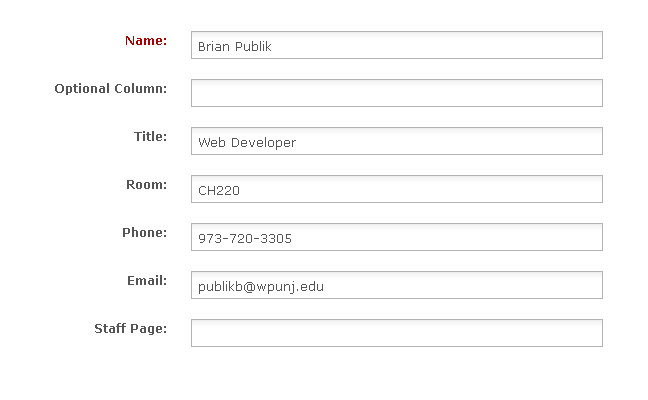
Instead of web page content, you will be presented with a form as follows :
Simply enter the person's contact information.
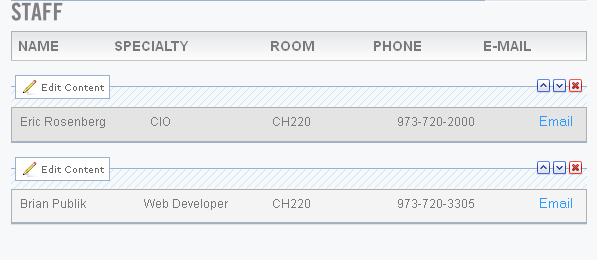
The end result will look similiar to this :
Using the Contact Form HTML
To use the HTML simply copy and paste the following into the CODE mode of the content editor.
You will want to change the contact details to suite the person its for and also feel free to modify the HTML to present this however you see fit. The important part is the everything in the form tags.
The only part of the form tags you will want to customize is :
<input type="hidden" name="to" value="smiths@wpunj.edu" />
<input type="hidden" name="person" value="Steve, Smith" />
<table>
    <tr>
        <td>
        	<p>Steve, Smith</p>
        </td>

        <td>
        	<p>Assistant</p>
        </td>
        <td>
        	<p>973-720-2000</p>
        </td>

        <td>
            <form action="http://www.wpunj.edu/form/contact-form.dot" method="post" >
              <input type="hidden" name="to" value="smiths@wpunj.edu" />
              <input type="hidden" name="person" value="Steve, Smith" />
              <input type="submit" class="contactSubmitButton" value="Email" name="submit" />
            </form>
        </td>

    </tr>
</table>


