Setting Up Outlook 2016 for Mac: Difference between revisions
| (One intermediate revision by one other user not shown) | |||
| Line 21: | Line 21: | ||
From the Tools menu select "Accounts" and enter the user information requested as seen in the example below | From the Tools menu select "Accounts" and enter the user information requested as seen in the example below | ||
<br> | |||
'''Instead of wpc\username use full email address (username@wpunj.edu)''' | |||
[[File:Outlook_first_run_7.png]] | [[File:Outlook_first_run_7.png]] | ||
| Line 27: | Line 29: | ||
[[File:Outlook_first_run_8.png]] | [[File:Outlook_first_run_8.png]] | ||
[[Category:Apple]] | [[Category:Apple]] | ||
[[Category: Help Desk]] | [[Category: Help Desk]] | ||
Latest revision as of 10:40, 26 June 2018
Upgrading from Outlook 2011
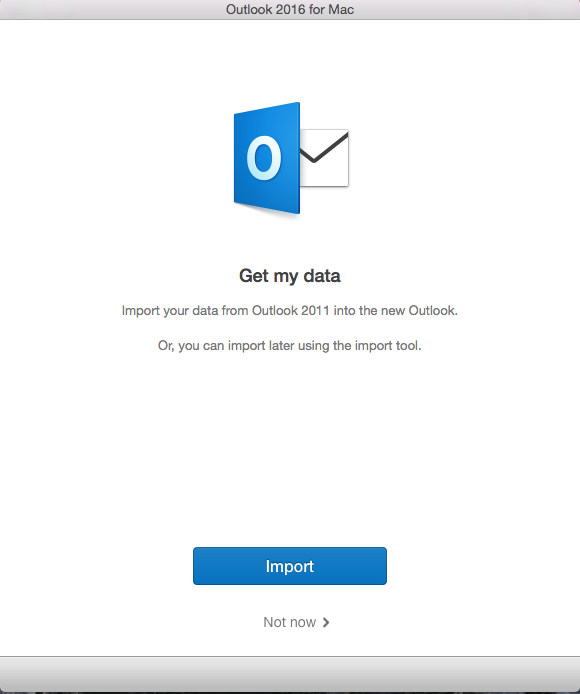
If a user is upgrading from Outlook 2011 then on the first launch of Outlook 2016 use the 'Import" button. Note:
1) Be sure that you do not have MS Outlook 2011 running when you are doing the import. It will cause the import to fail.
2) If you have Outlook 2011 set to open whenever you log into your computer, you will need to disable this function before doing an import.
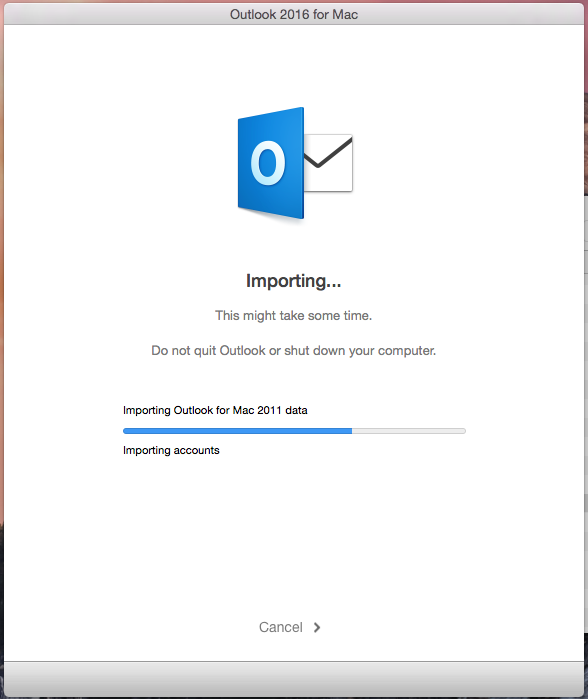
Outlook will import your mail and settings. The time for this depends on how much mail you have and the speed of your machine.
Once the import process is done Outlook will open it's main window and is ready for use.
Setting up a new client
New account setup is the same as it was in Outlook 2011.
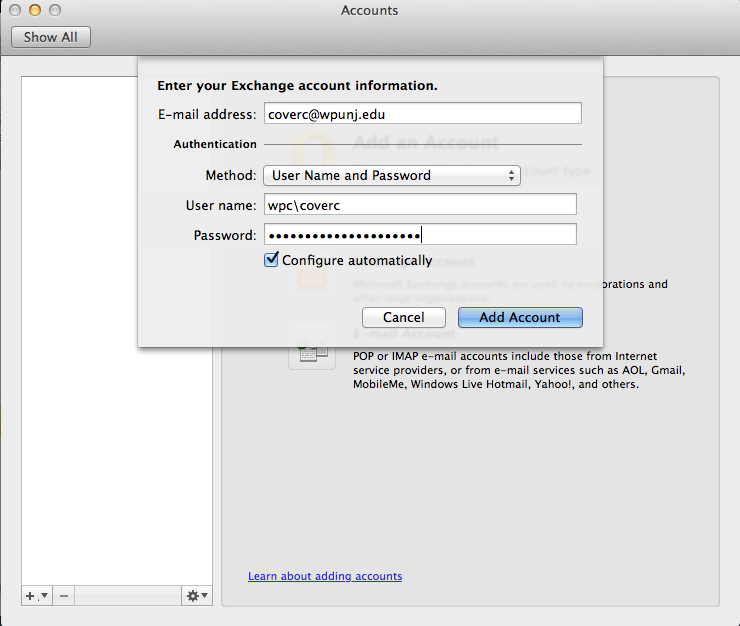
From the Tools menu select "Accounts" and enter the user information requested as seen in the example below
Instead of wpc\username use full email address (username@wpunj.edu)
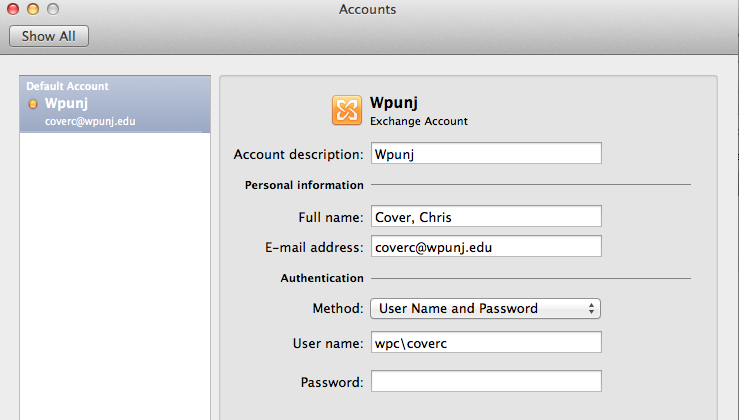
Once the account is created please make sure to change "wpunj" to the name of the user account.


