Getting Started: Wired: Difference between revisions
Jump to navigation
Jump to search
Tavoularisr (talk | contribs) No edit summary |
|||
| Line 14: | Line 14: | ||
<li>Open your web browser. | <li>Open your web browser. A captive portal provisioning page will open automatically. | ||
<div class="toccolours mw-collapsible mw-collapsed" style="width:575px"> | <div class="toccolours mw-collapsible mw-collapsed" style="width:575px"> | ||
[[Image: | [[Image:ENS-ISE-Portal-Login.PNG|center]] | ||
</div> | </div> | ||
<li>Type in your wpconnect username and password | <li>Type in your wpconnect username and password. | ||
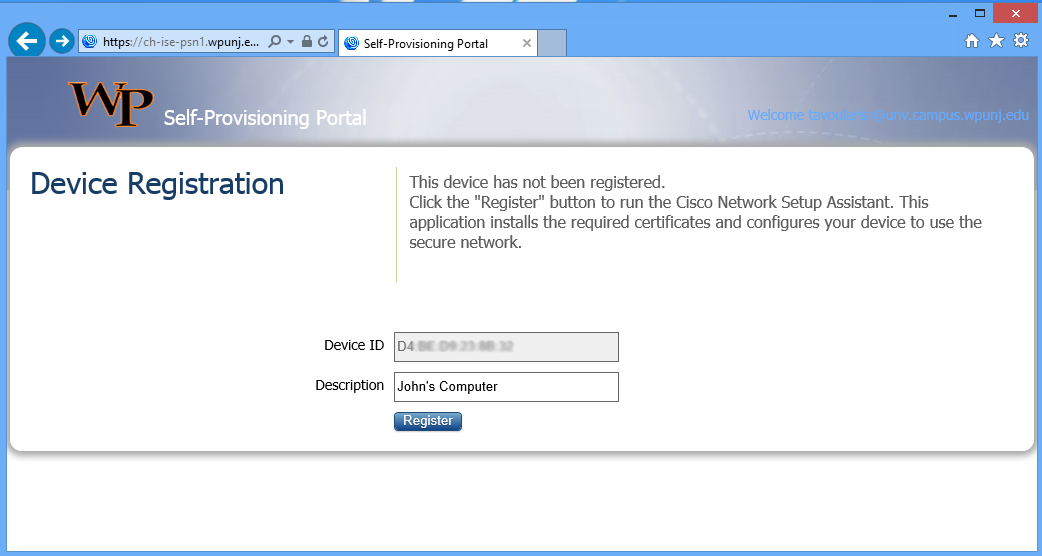
<li> | <li>Type in a name for your device and click on "Register" | ||
<div class="toccolours mw-collapsible mw-collapsed" style="width:575px"> | <div class="toccolours mw-collapsible mw-collapsed" style="width:575px"> | ||
[[Image: | [[Image:ENS-ISE-Portal-Register.PNG|center]] | ||
</div> | </div> | ||
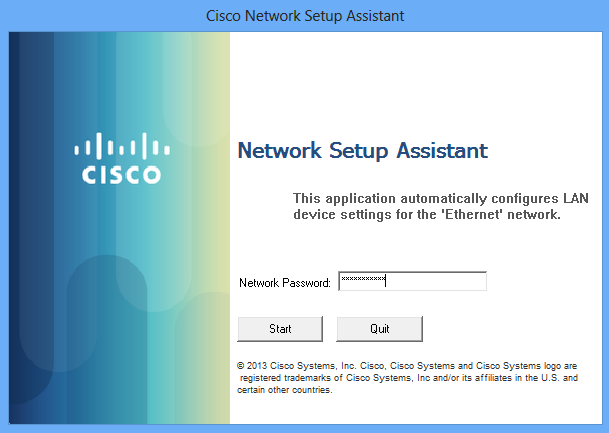
<li> | <li>Download and install the '''Cisco Network Setup Assistant'''. Accept any certificate or windows prompts. | ||
<li> | <li>If prompted, type in your WPConnect password, otherwise, just click '''start'''. Accept any certificate or windows prompts. | ||
<div class="toccolours mw-collapsible mw-collapsed" style="width:575px"> | <div class="toccolours mw-collapsible mw-collapsed" style="width:575px"> | ||
[[Image: | [[Image:ENS-ISE-CNA.PNG|center]] | ||
</div> | </div> | ||
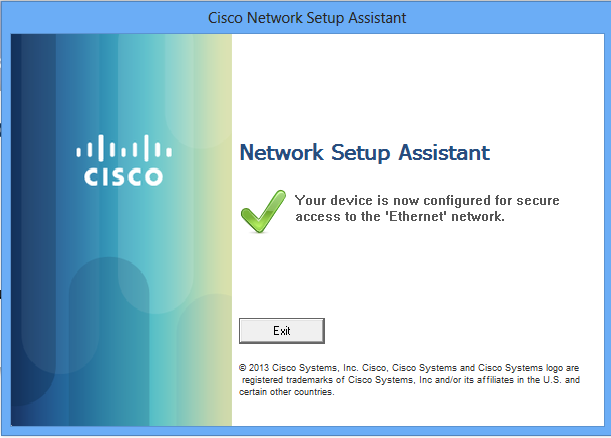
<li>Once the '''Cisco Network Setup Assistant''' completes configuration, your device should have full internet access | |||
<li> | |||
<div class="toccolours mw-collapsible mw-collapsed" style="width:575px"> | <div class="toccolours mw-collapsible mw-collapsed" style="width:575px"> | ||
[[Image: | [[Image:ENS-ISE-CNA-Successful.PNG|center]] | ||
</div> | </div> | ||
</ol> | </ol> | ||
Revision as of 12:59, 28 August 2013
Getting Started: Wired
- Plug in machine to your assigned network port. The port should go up and you should obtain an IP address (149.151.x.x). If you are unable to obtain an IP address, please report the problem to ResNet or fill in the smartphone mobile Report a Problem form so that they can verify your network jack connectivity.
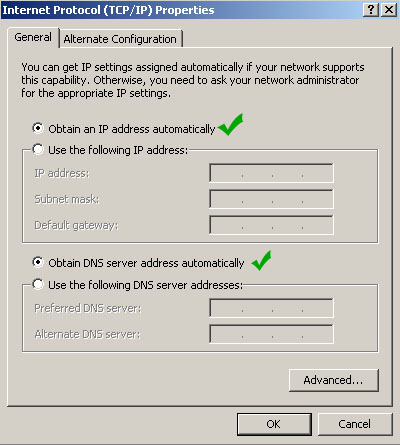
- Check your TCP/IP settings to ensure the "Obtain IP address automatically" and "Obtain DNS server address automatically" are checked.
- Open your web browser. A captive portal provisioning page will open automatically.
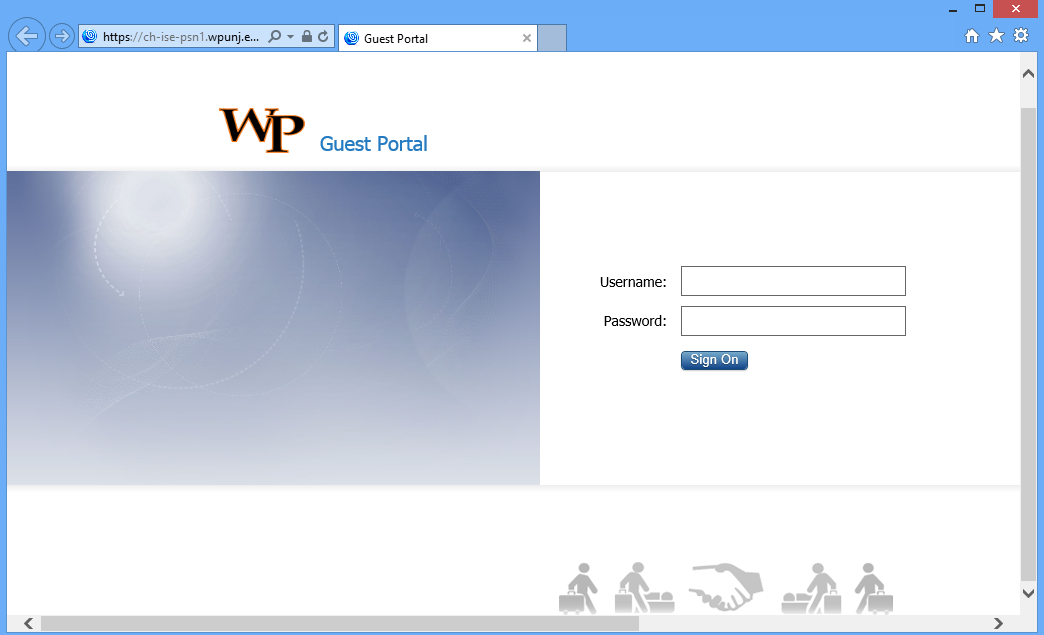
- Type in your wpconnect username and password.
- Type in a name for your device and click on "Register"
- Download and install the Cisco Network Setup Assistant. Accept any certificate or windows prompts.
- If prompted, type in your WPConnect password, otherwise, just click start. Accept any certificate or windows prompts.
- Once the Cisco Network Setup Assistant completes configuration, your device should have full internet access


You should now have full access to the WPUNJNet.