User:Millingm
[[]]
Skidata
Web Client - SWEB Portal
This program is used for remote access to control access functions for the Pioneer Parking Deck. For adding customer Parking permissions, you will need to use the Skidata Parking Logic Server program. Information regarding that program is below.
Logging In To access SWEB Portal open a browser and type in the following address: https://hb.usa.skidata.com/portal/?
To get Login Name and Password you must submit request to: millingm@wpunj.edu
             Tenant = US_WilliamPaterson
             Note: Login name IS case sensitive
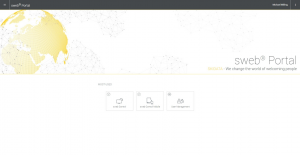
Once logged into the SWEB Portal as pictured you will go to the menu tab in the upper left corner (This is identified by the box with 3 lines). Once tab is clicked on there will be two options present SWEB CONTROL and PORTAL ADMINISTRATION on the left column. To view and control the various access points you will want to select SWEB CONTROL.
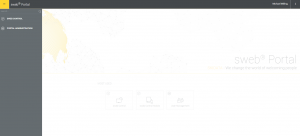
SWEB CONTROL
Once the SWEB CONTROL loads you will be presented with the following screen:
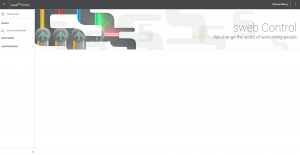
Click on the Monitoring tab from the left hand column, and a drop down will appear with a tab labeled Sweb Control.
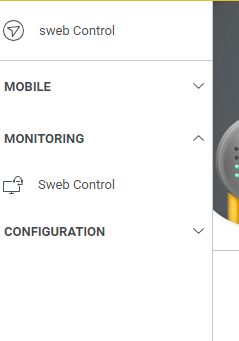
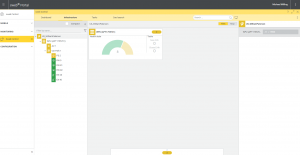
Once you Select Sweb Control you will be presented with the Infrastructure page as pictured here. This comprises of the various modules and operable gates, the Health State of the system, etc.
To Operate A Gate
To operate a gate via the system you will click on the desired entrance or exit gate from the Filter by name column on the left. A gate is identified by the symbol pictured here:

Once you selected the desired gate, the gate tab will highlight yellow in the left column, and a set of Commands will appear on the right pictured here.
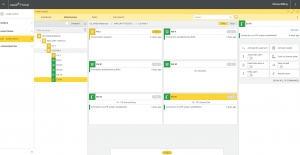
In that Column you will want to select the tab at the bottom of the right hand column that says SHOW ALL 18 COMMANDS.
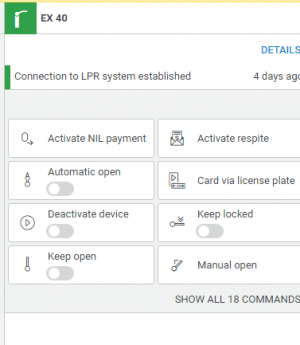
Understanding The Commands:
- Automatic open – This selection means that the gate will automatically open after a momentary pause upon a vehicles arrival.
- Keep Locked – This will trigger a full closure of the gate. No vehicles can enter or exit from this access gate.
- Keep Open – This will leave the gate fully up at all times allowing vehicles to move freely in and out with no obstruction.
- Manual Open – This is a onetime opening performed by the remote operator. This is to be used when a patron at the gate needs access or exit but doesn’t have the required credential or an operational mishap not allowing patron to enter or exit.
Performing a command:
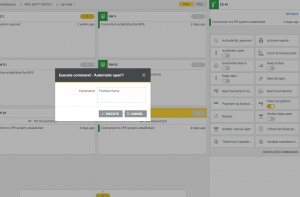
When performing a command select the desired command (For Example Automatic Open) It will ask for an explanation as to why this action is being performed. The reason could be there is a football game.
Following the explanation you would select Execute to send the command to the intended gate.
Parking Logic- Server Control / Admin Program
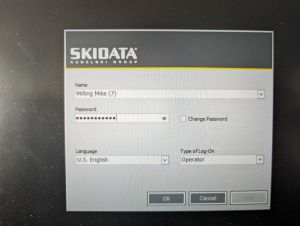
Once permission is given, and the program is installed/ setup on your PC you will go to the login page, and login.
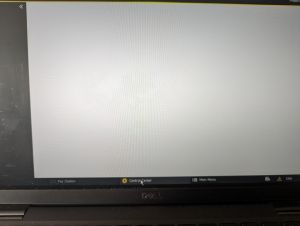
From the main desktop page you can select the Control Center tab at the bottom of the page, or you can select all programs from the left side menu.
Access Point Control
To Control the access points you select the Control Center tab at the bottom of the screen.
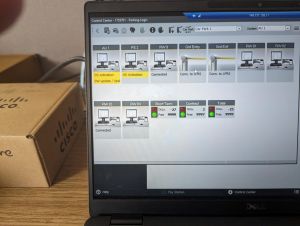
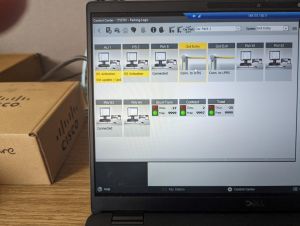
When the Control page comes up it will show the various control systems and access gates available on your system.
When you select an access gate (indicated by the gate arm Icon). It will highlight Yellow indicating it was selected. From there you can scroll over the top bar of commands and names will appear on the icons explaining their function. For example Manually Open, Keep Open On, Keep Open Off, etc.
Adding License Plates Individually To Parking Logic
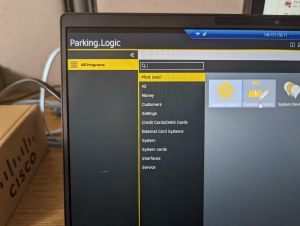
1.) From the Parking Logic Home screen you want to select from the left hand menu with the box that says "All Programs" Then from the drop down menu choose "Customers" and then select "Customer Admin" from the box.
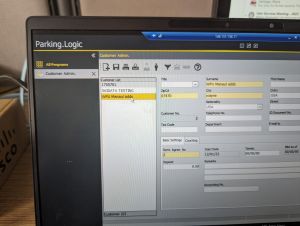
2.) After the Customer Admin page loads you will see a menu box labeled "Customer List" select "WPU Manual adds".
3.) From the top tool bar select the "Users" tab looks like a black Silhouette.
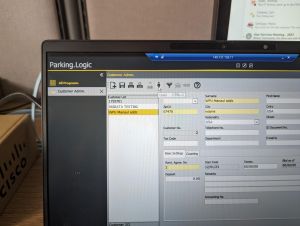
4.) Next you want to select the "New" icon from the top tool bar.
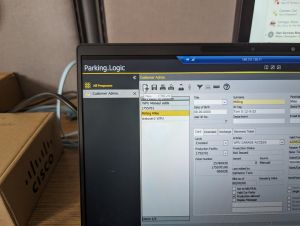
5.) Now add the customers Surname and first name in the appropriate box. The ID Tag will be your last name and the date.
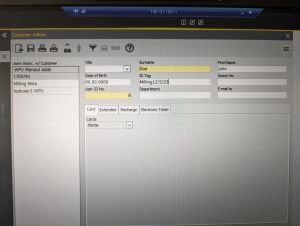
6.) Hit the save button.
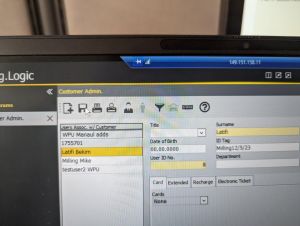
7.) Next step is to click on the menu tab on the right side of the box and select "Contr Parker", and then select "New" from the pop-up menu.
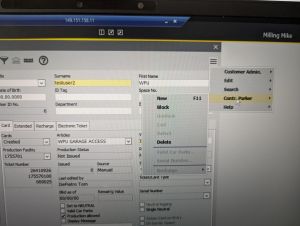
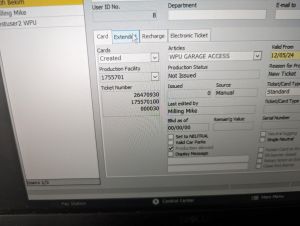
8.) Once the new page populated select the "Card" tab.
9.) In the articles pull down tab be sure to select "WPU GARAGE ACCESS". Then go to the top of the page and select Save from the top tool bar.
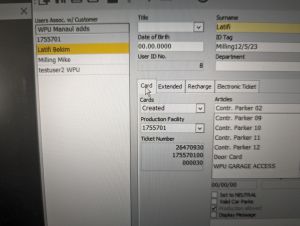
Note: In this tab you can also set the length of access privilege. By default it is set to 1 year.
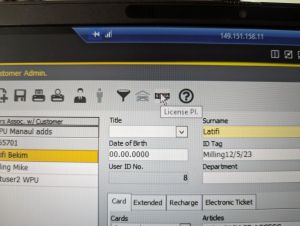
10.) Next you will select the License plate icon in the top tool bar.
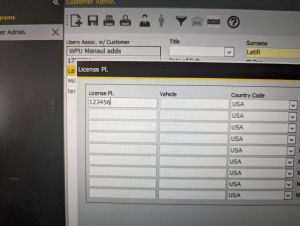
11.) Once the page is loaded you will enter the license plate in the "License Pl" field. Nothing else needs to be filled out in this section. Hit the OK button at the bottom of the page. Now select "Save" again.
12.) Now that you are back to the entry page select the Extended tab.
