VPN Remote Access: Difference between revisions
m Rozewskic moved page Universal Anyconnect VPN installation to VPN Remote Access: Unclear title previously |
mNo edit summary |
||
| Line 120: | Line 120: | ||
[[Category:Apple]] | [[Category:Apple]] | ||
[[Category:Windows]] | [[Category:Windows]] | ||
[[Category:Mobile]] | |||
Revision as of 12:31, 8 April 2013
Introduction
William Paterson University provides a VPN option for remote access into its computing and network environment. VPN access is available for faculty and staff only.
VPN stands for Virtual Private Network. A VPN allows you to use the ISP (Internet Service Provider) of your choice and connect to WPUNJ using services normally restricted to campus usage. It does this by providing a "Virtual" network connection to WPUNJ. That is, even though you are connected to your ISP, it appears that you are actually connecting from WPUNJ. Providing that you have a fast enough connection to the University's network through an Internet service provider you can access any data and applications the same way you do from your office at the University.
When should you use a VPN Connection?
The VPN connection should be used when you need to connect to a protected/firewalled WPUNJ network services. These include but are not limited to:
- Logging into the administrative systems
- Connecting remotely to some of the University's Library resources
- Retrieving E-Mail Using WPUNJ Discussion Groups
When connecting to unrestricted services, such as browsing the Web, you should use only your ISP connection and not the VPN connection. VPN is only required for access to protected services at WPUNJ.
Usage Instructions
Download the required software through WP Connect from the "Employee" tab, and under the "Available Application" window frame. The VPN does not replace your ISP connectivity, it is intended only so your can access secure resources.
The VPN server authenticates using Windows/Email usernames and passwords ONLY. Faculty and staff users must have a valid WPUNJ Windows/Email account to use the VPN services.
Microsoft Windows
Download the Windows VPN client from the WPCONNECT portal. From the "Employee" tab, and under the "Available Applications" window frame you will see a link named "Download the Universal VPN Software". Click on it.
Install the AynConnect VPN Client
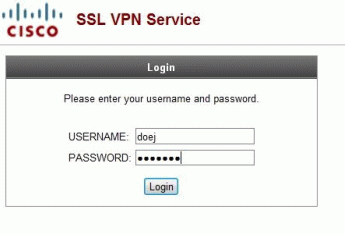
- Once the above link is selected a new web page will open up asking for your WPU user account and password.
- Once you enter this information the portal web page will automatically start the AnyConnect client installation. During the installation you may see a security alert popup bar (?) asking to run an add-on. At this point you can either click on the "skip" link as shown below or let the time counter time-out by itself and continue with the installation.
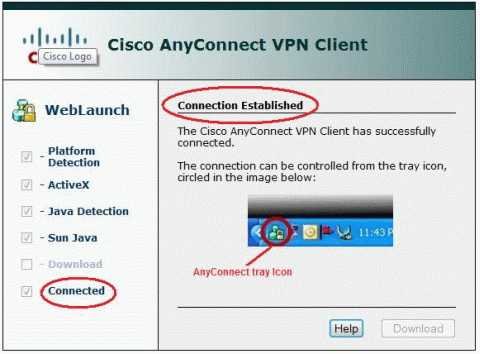
- At completion of the installation you will see a "Connection established" on your brrowser window as shown below. Now your VPN client is fully installed and running. Just close your browser.
- To disconnect the VPN client simply right click on the VPN icon on the right side of your task bar (it looks like a lock) and click on the 'Disconnect" button.
- To reconnect click on the start windows button at the left bottom of your task bar and select "All Programs". There you will find a "Cisco" folder with the Anyconnect VPN program icon. Click on the icon to launch the AnyConnect VPN client.
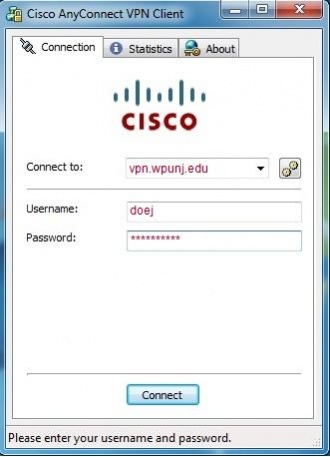
- Once launched you will be asked to enter your WPU user account and password. Please do so. If the "Connect to:" field is empty please enter vpn.wpunj.edu. That is the address of the VPN server. Now click on the "Connect' button to run the AnyConnect VPN client.
Note: The Cisco VPN Client will be minimized to the task bar, the icon looks like a lock. To disconnect, right click on the icon for the VPN client and select disconnect.For technical support contact Help Desk Request
Mac OS X (10.7 or later)
1) Log into WPConnect. Go to the Employee Tab and select "Download Universal VPN Software. You will be prompted to log in. DO so.
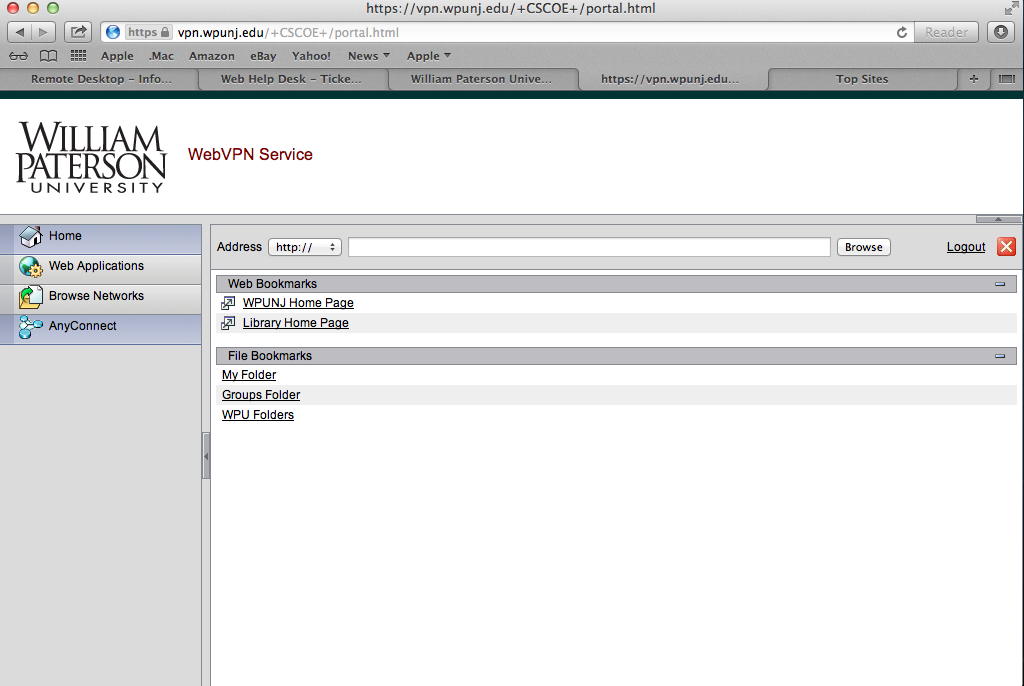
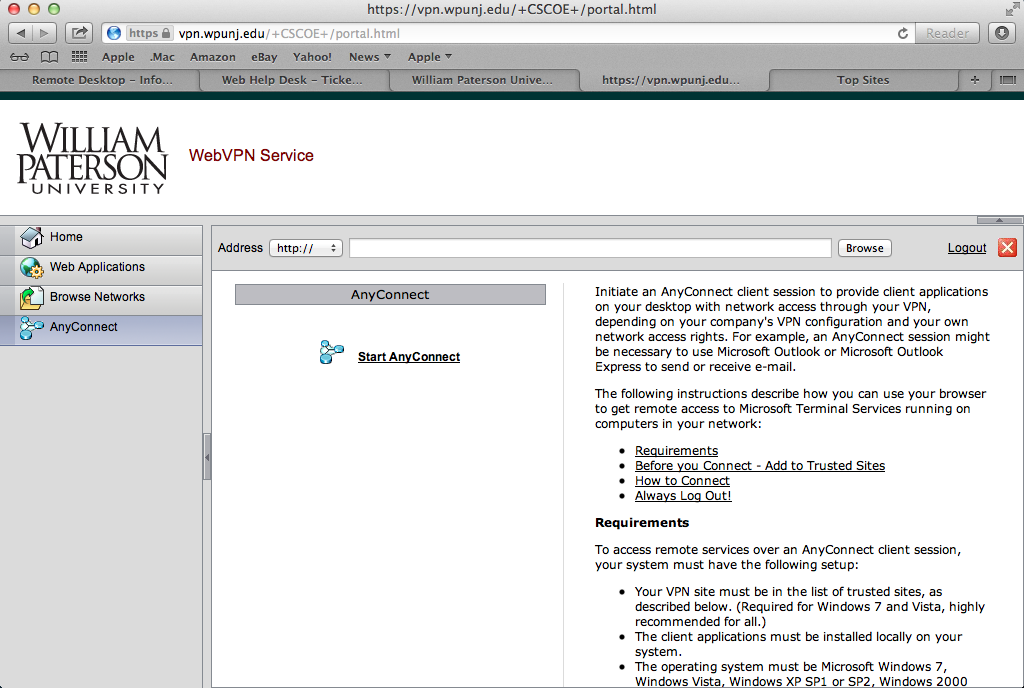
2) Once logged in click on the "any connect" button on the left of the page
3) Click on "start AnyConnect"
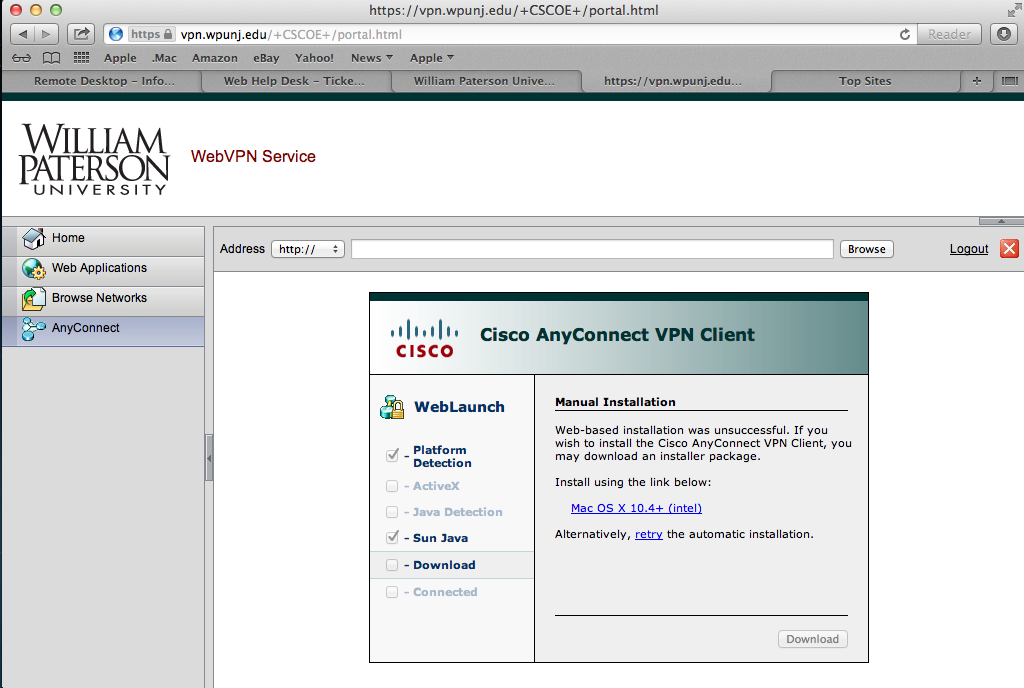
4) Wait for the installation to fail. When it does click on the "Mac OS X 10.4 +(intel)" link
5) it will download a file to your designated download location. This is usually your downloads folder but you may have changed it to somewhere else. Locate the file "vpnsetup.dmg" and double click on it. It will mount a disk image on your desktop.
6) run the installer in the disk image. It will create a folder in your Applications folder called "Cisco".
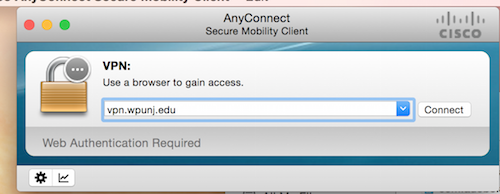
7) In that folder you will see an application named "Cisco Any Connect VPN Client". Double click on it.
8) when the program launches you will see a connect window. In the space next to "Connect to" type "vpn.wpunj.edu" and click "connect"
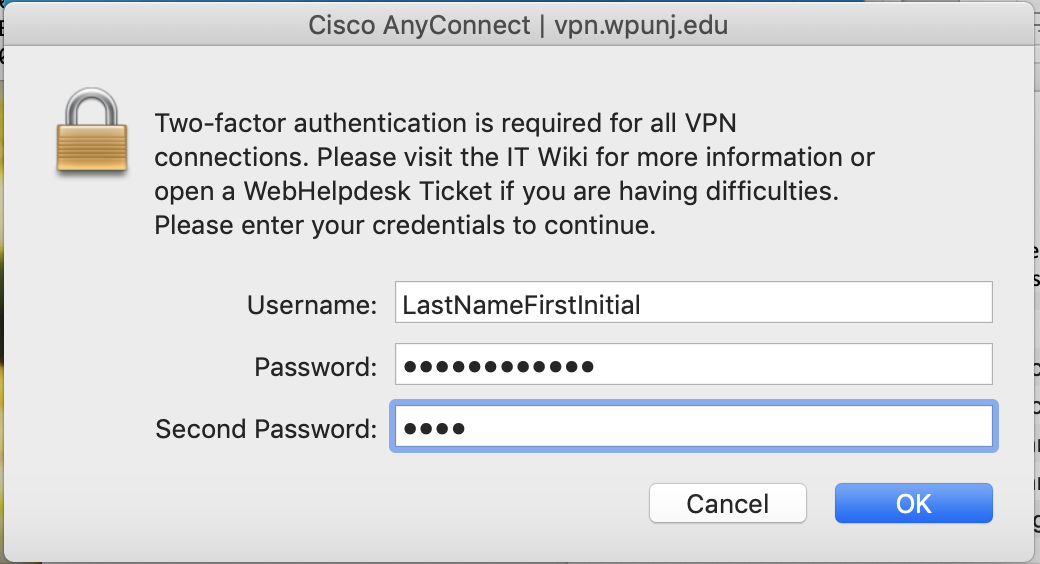
9) If the software can reach the university authentication server you will be asked for your university login credentials. Enter them and click the "connect" button.
You are now connected to the university network.
Disclaimer:
William Paterson University is not responsible for any software/hardware failures due to the installation of the VPN software provided by Cisco.
The VPN software available on this page is for use in the United States and Canada ONLY. It is NOT to be placed on a computer system that will be subject to International Travel. Exporting this software is a Federal Crime.
